Brucemore Mansion Restoration Gallery
Technical Specialty Systems
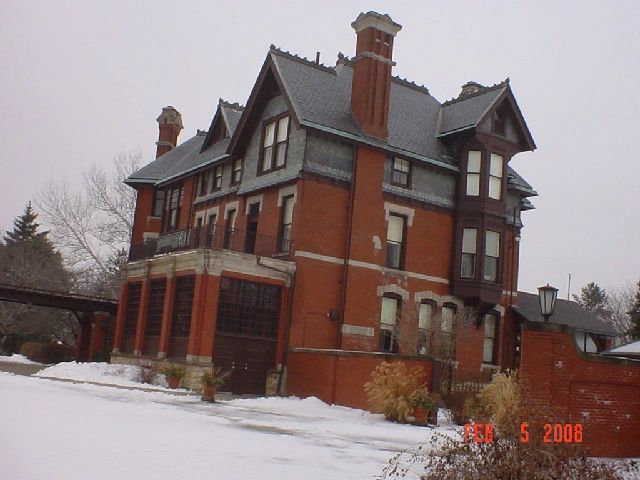
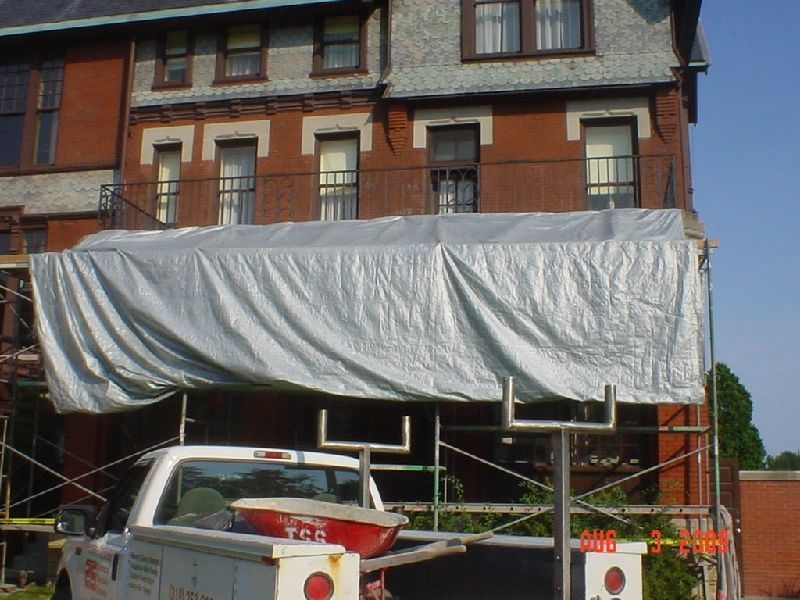
Restoration Gallery Photos From Brucemore Mansion, Cedar Rapids, IA
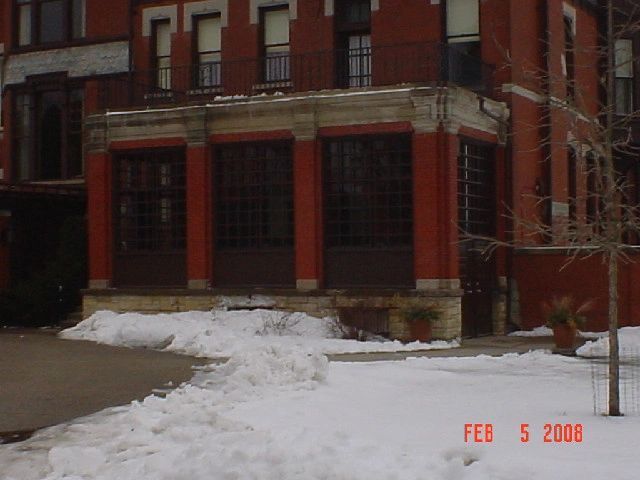
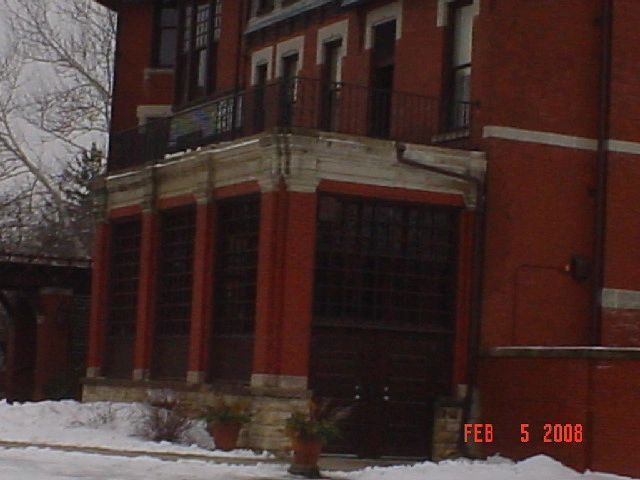
Technical Specialty Systems is proud to showcase our masonry restoration of an exterior section of a wall at Brucemore Mansion in Cedar Rapids, IA. A narrative of our comprehensive services follows below. Count on us for competitive pricing for fully licensed, bonded, and insured masonry repair, restoration, and cleaning services for your project. Call today to discuss your restoration needs.


Brucemore Mansion Project Narrative
Brucemore Mansion Narrative
Project: 2007
Work Description
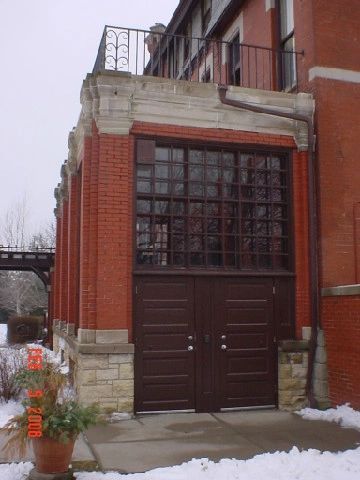
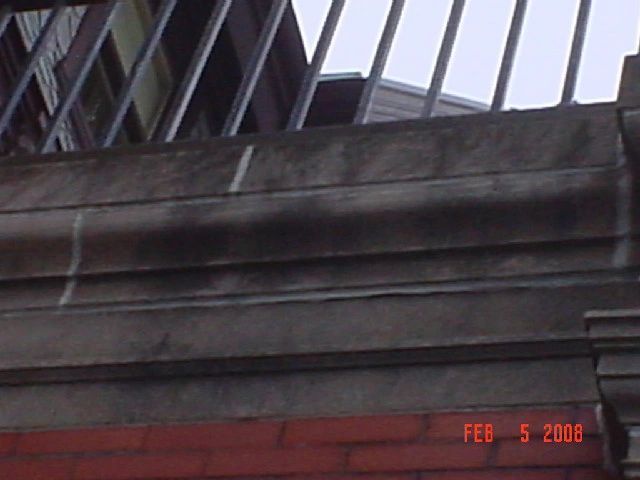
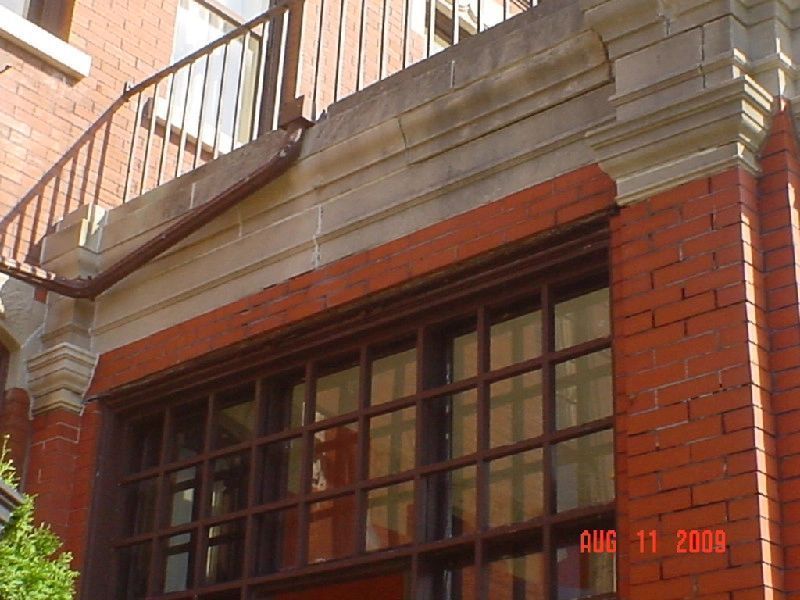
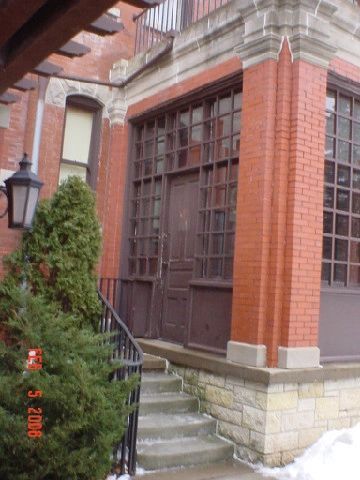
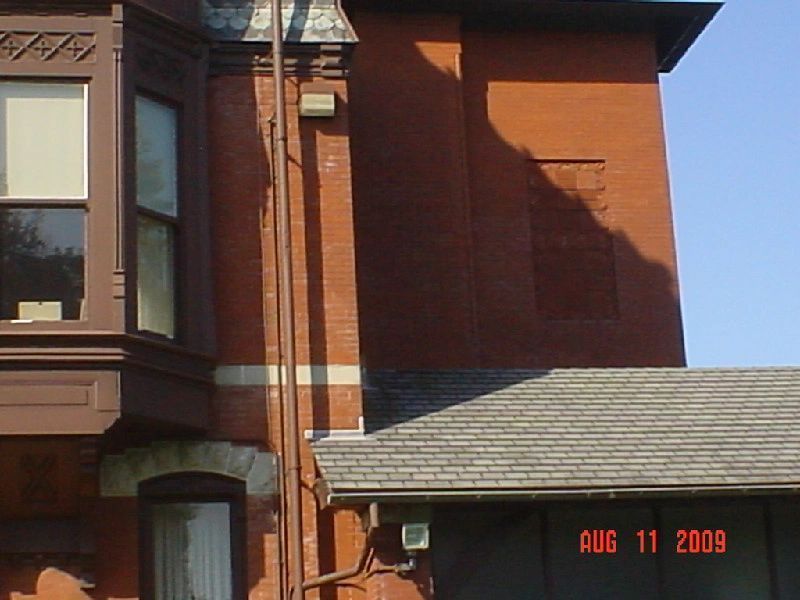
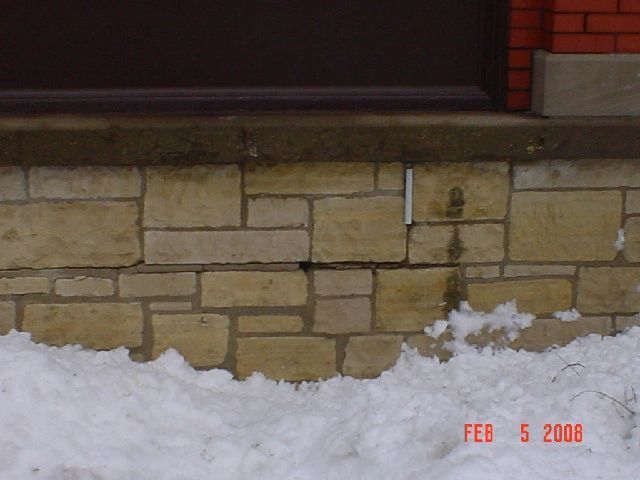
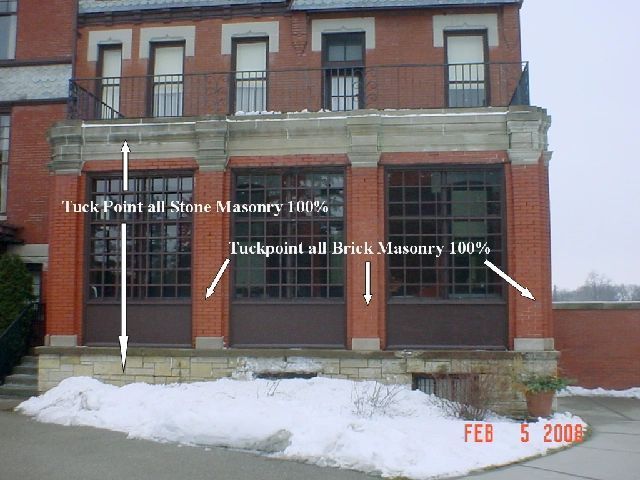
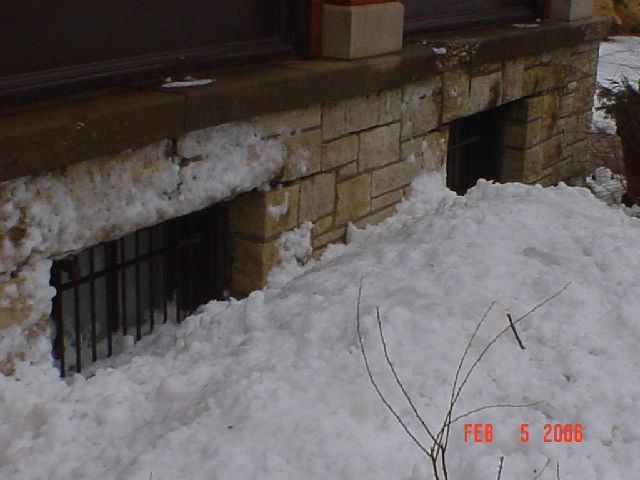
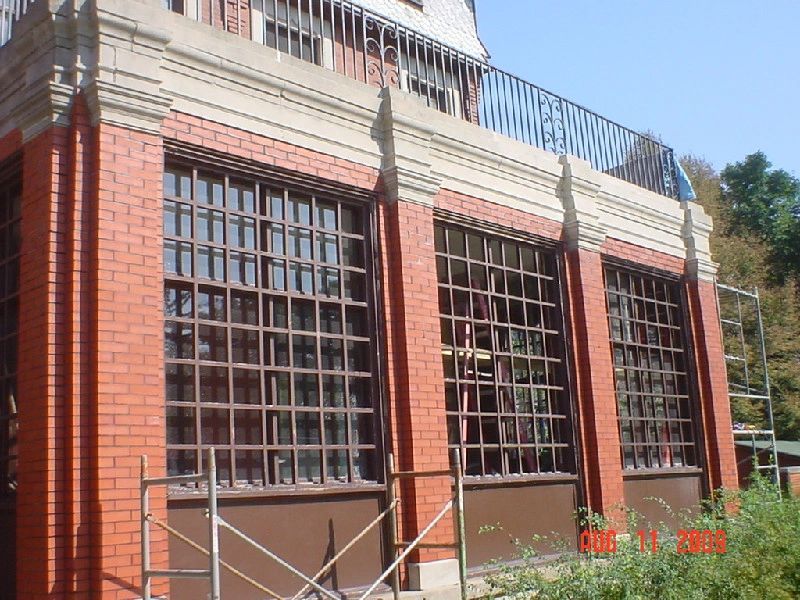
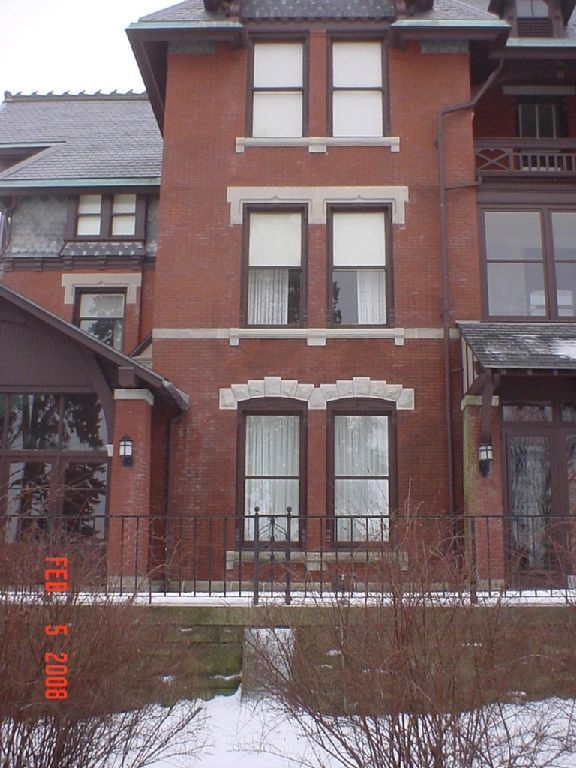
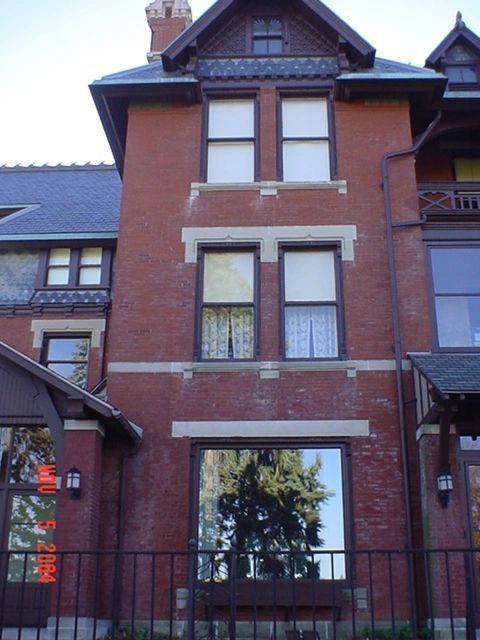
- Masonry restoration, exterior section of wall
- South elevation at east end by dining room, approximately 20 feet wide by 35 feet tall
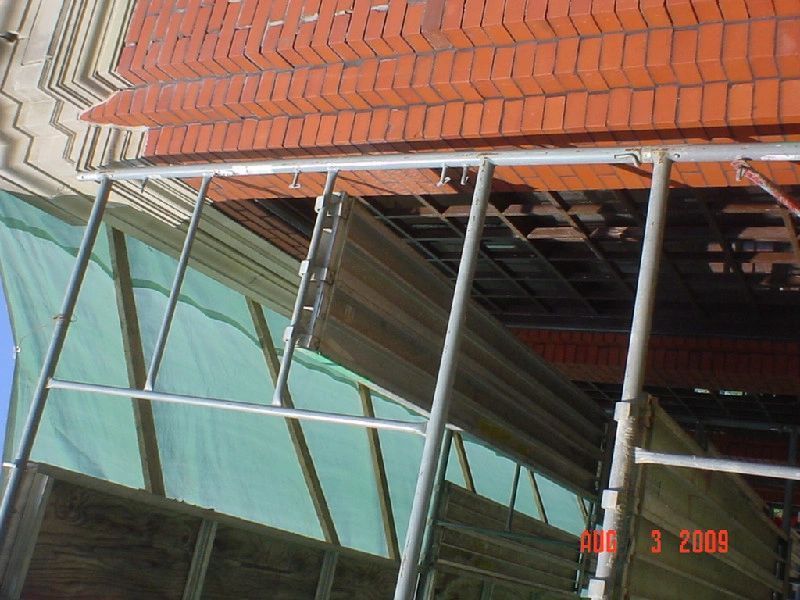
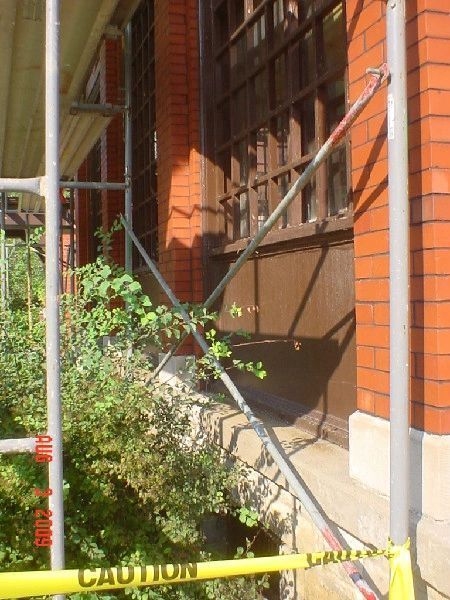
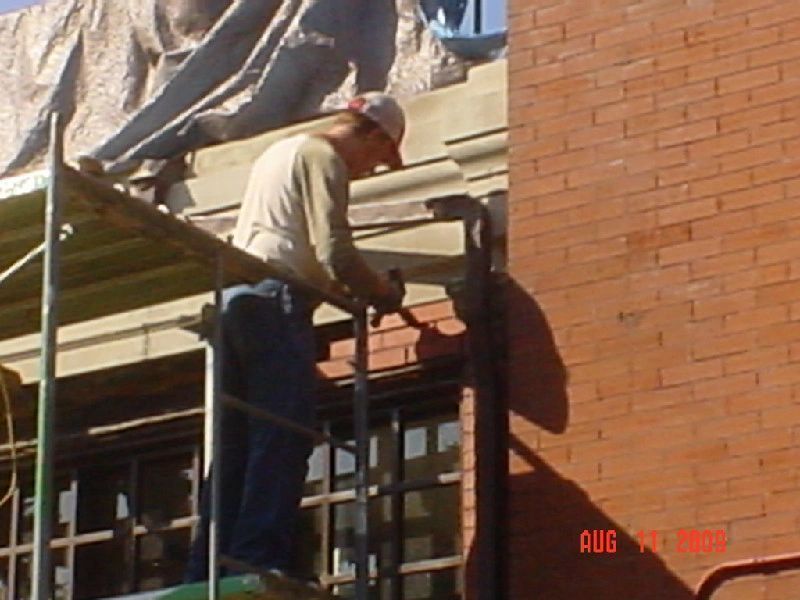
Mobilization
- 110-foot JLG Lift for tuckpointing and scaffolding for the column and stone lintel installation
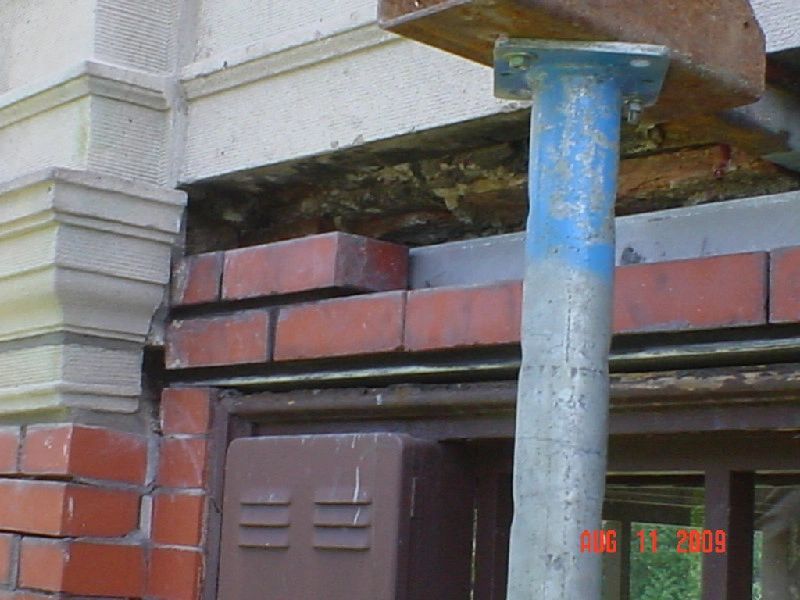
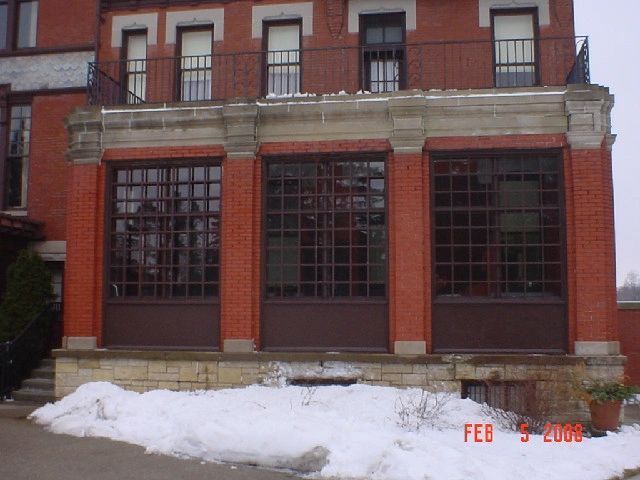
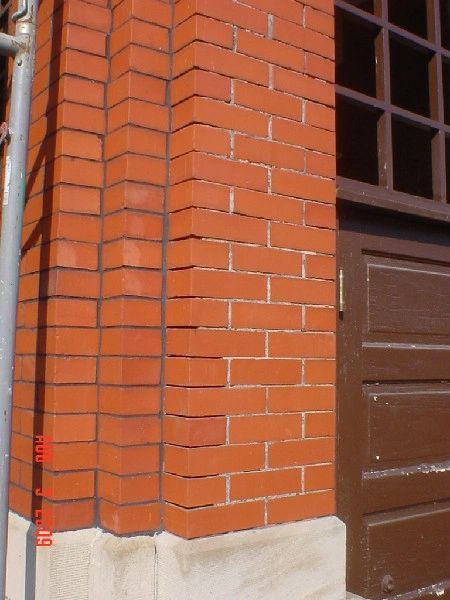
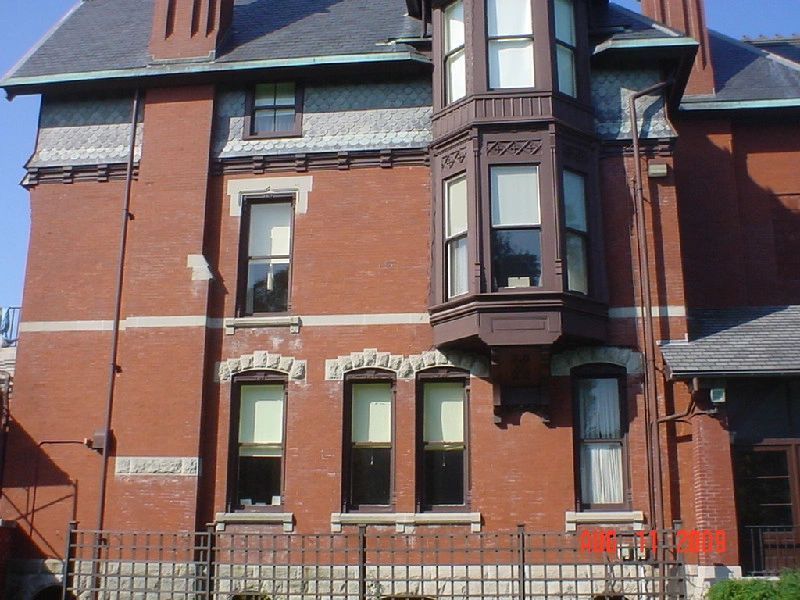
Brick Column in Center of Window Installation
Install 3/8-inch thick steel plate on window sill to support column and install 12 ½-inch wide by 16-inch deep column to match coursing of existing bricks.
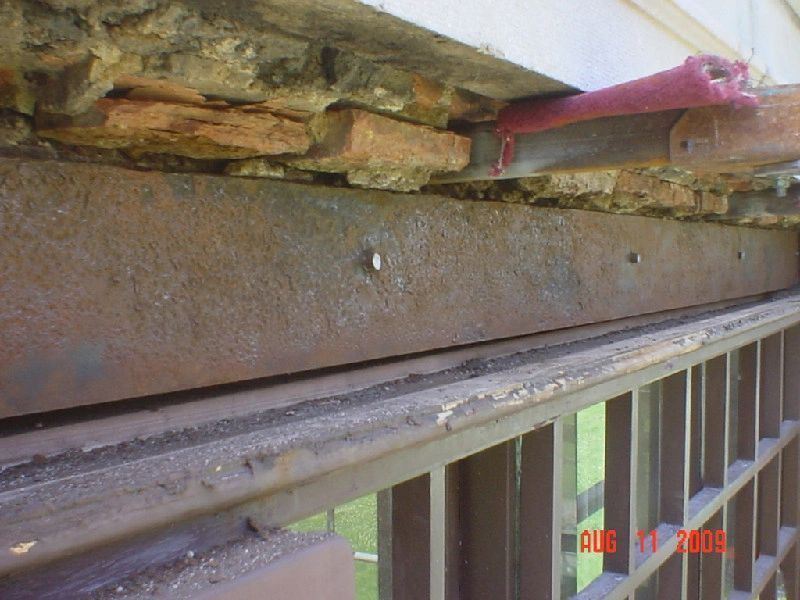
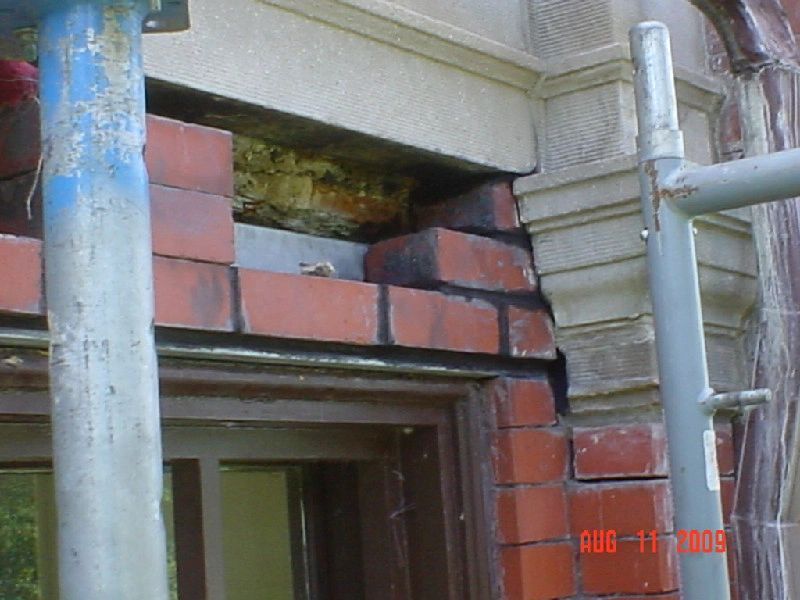
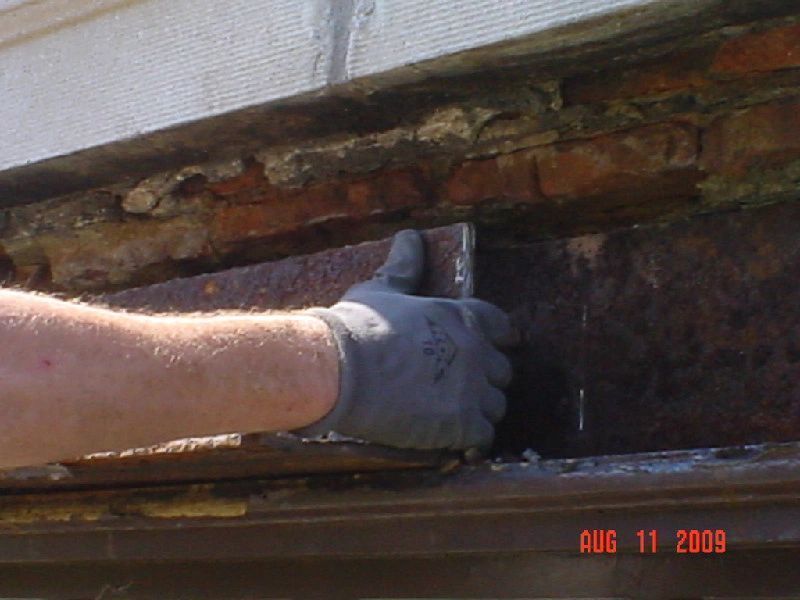
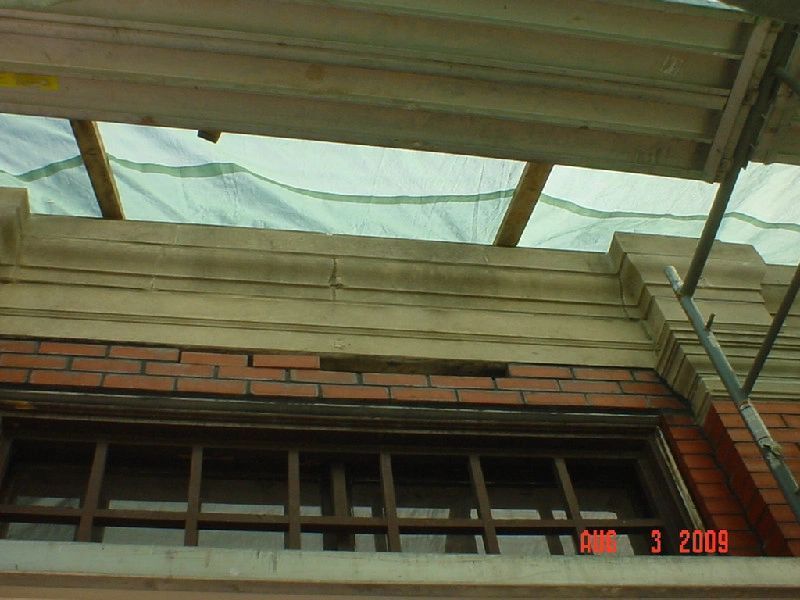
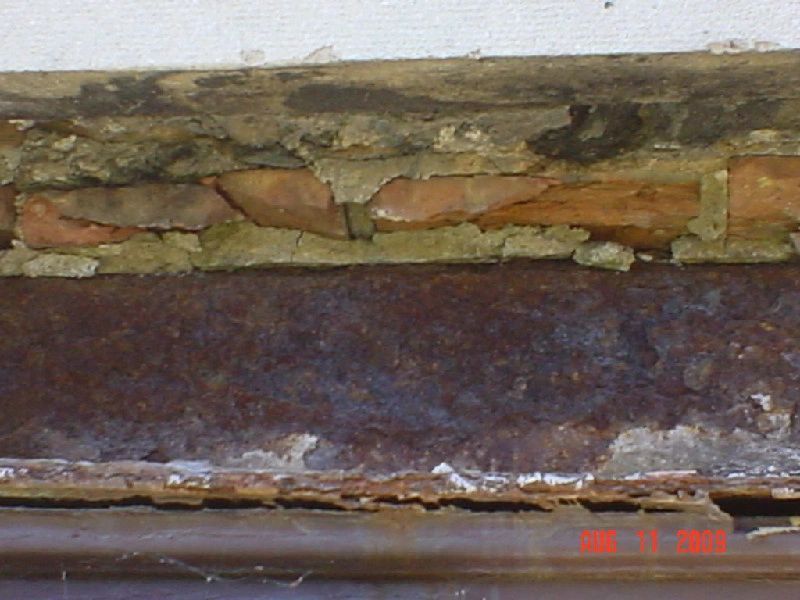
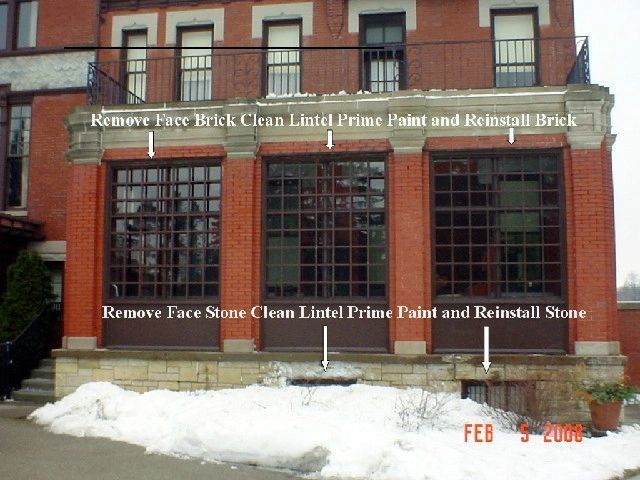
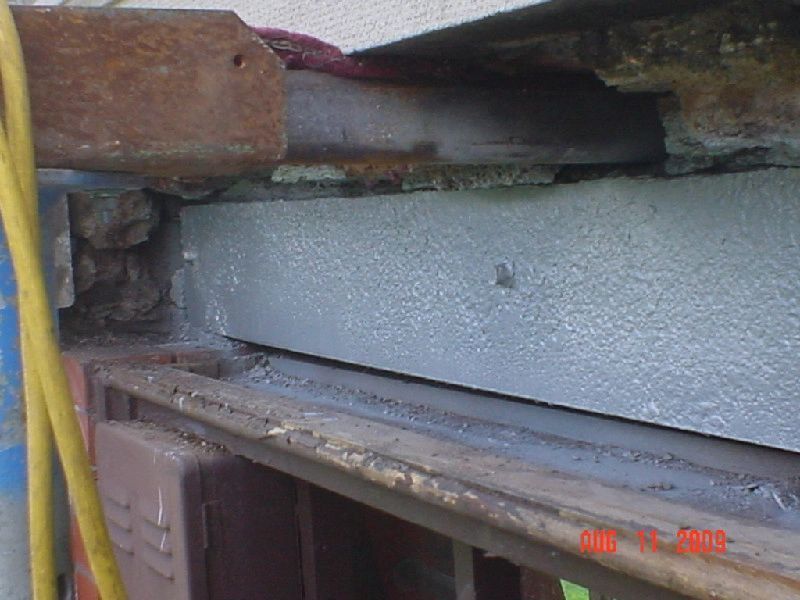
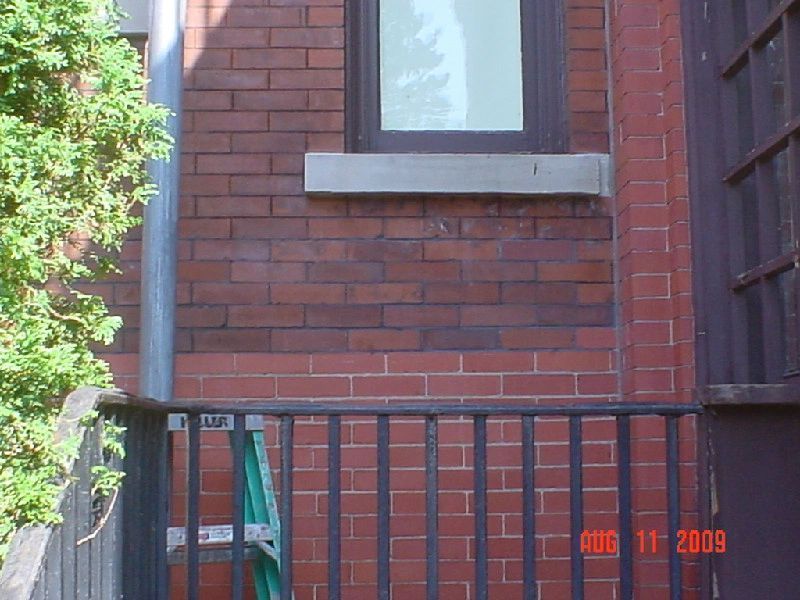
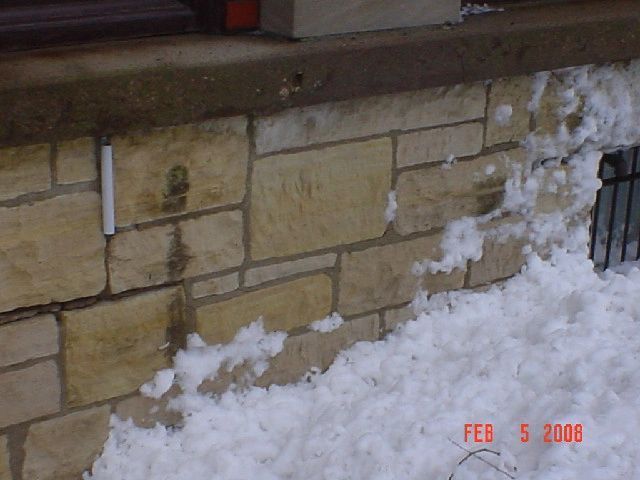
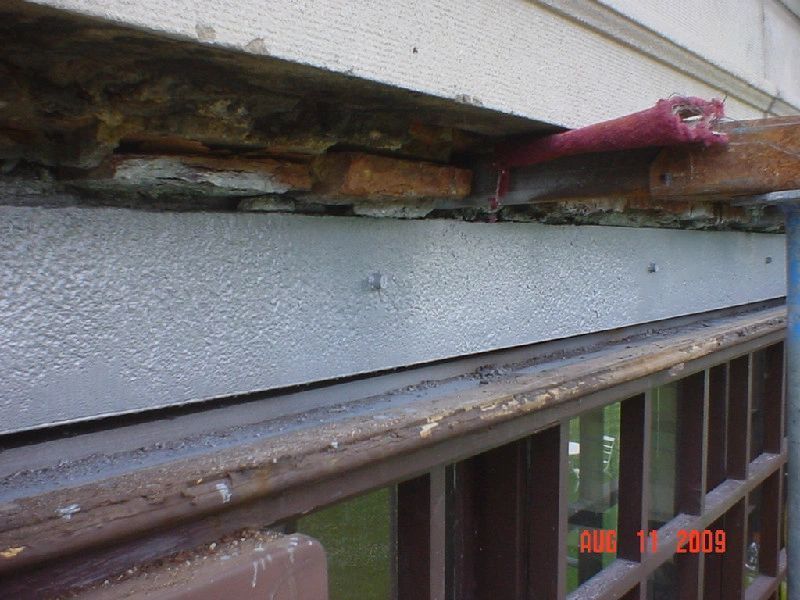
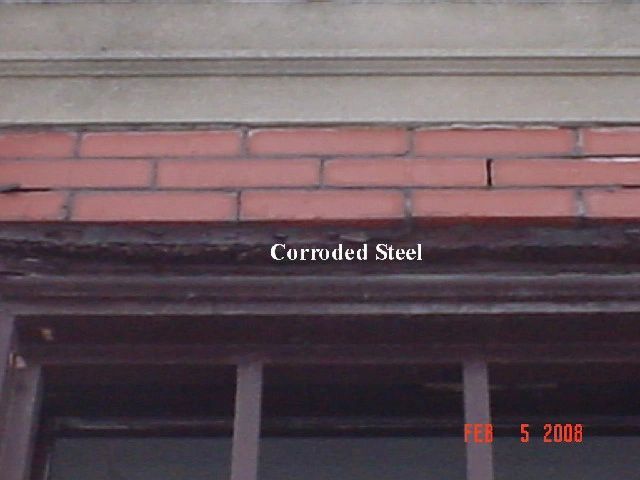
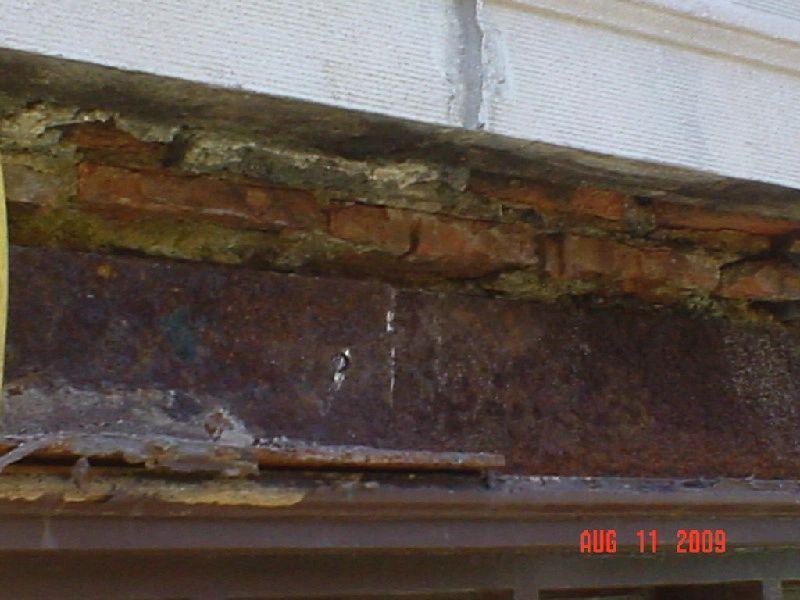
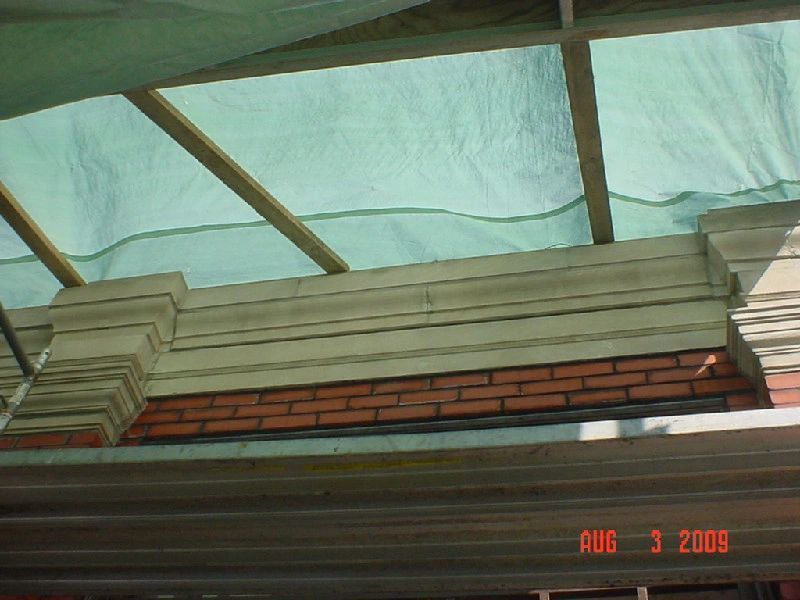
Removal of Existing Concrete Lintel for New Stone Replacement
Install shores and chip concrete lintel to determine internal structure materials used to support brick above, and also to determine the depth needed for new stone. We discovered a large existing steel I beam supporting 2 brick widths alongside a wood beam supporting 1 brick width. The outer face brick width was supported by the concrete lintel. Total thickness of wall was 19 inches or 4 brick widths with a 1-inch space between bricks. We installed expansion anchors through a 4-inch x 4 ½-inch steel angle and installed shores to support the outer face of brick above concrete lintel. The concrete lintel could now be removed. We used grinders and small air jackhammers to remove concrete lintel 5 inches deep and cut new stone 4 ½inches thick for installation.
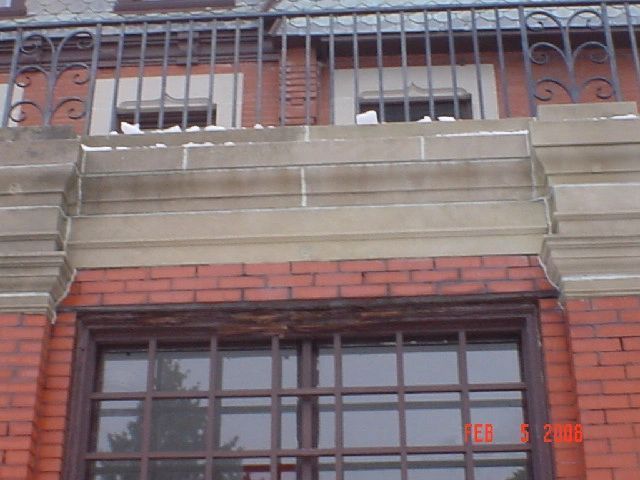
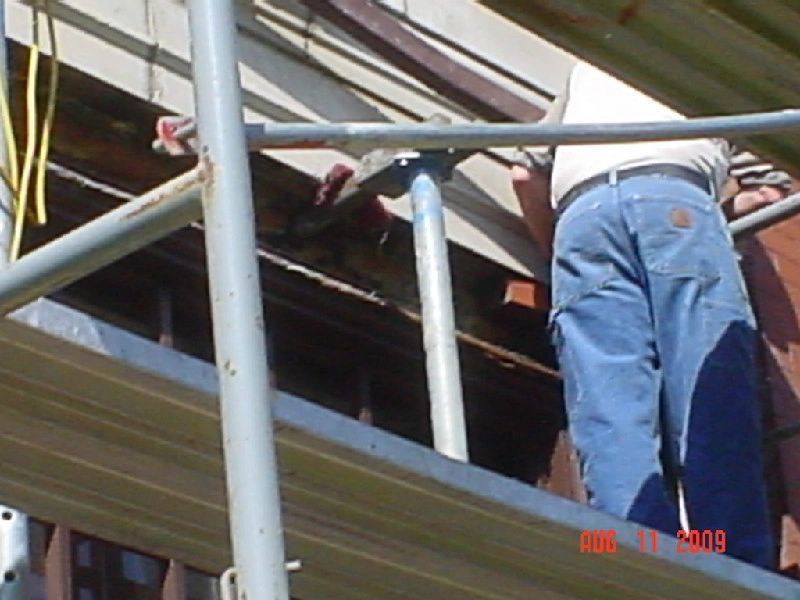
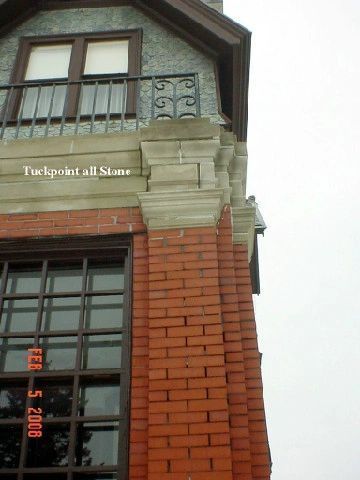
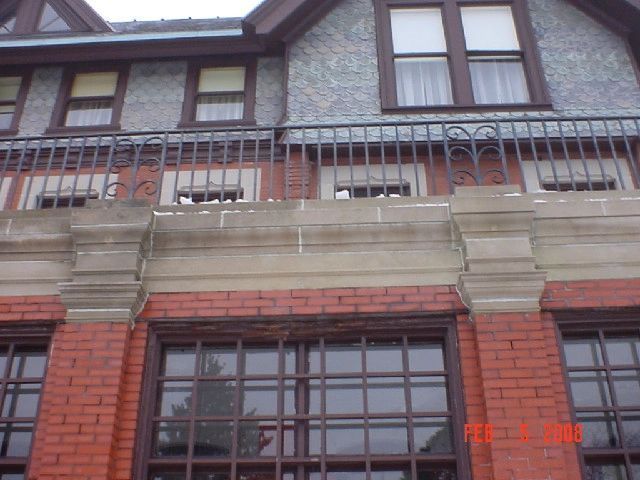
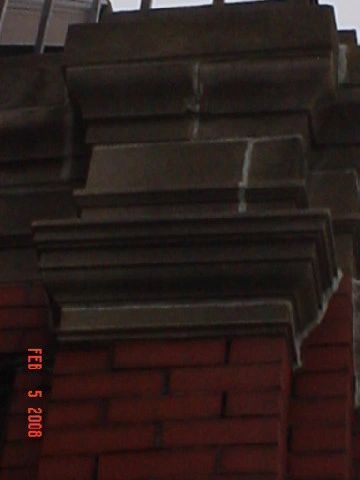
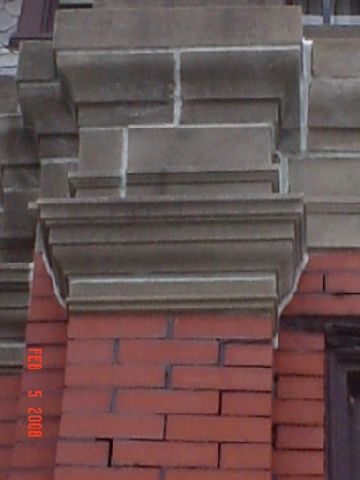
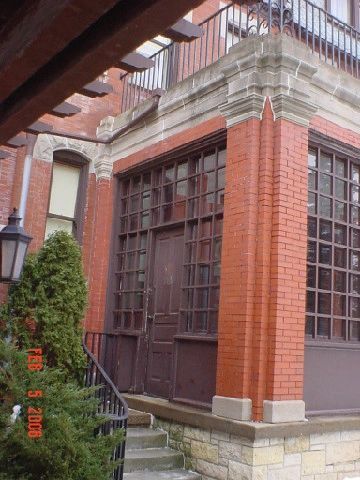
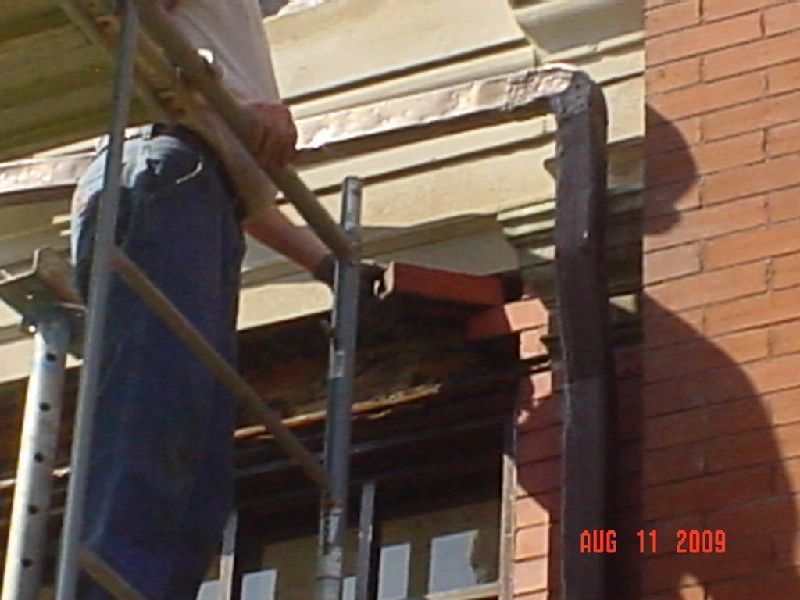
New Stone Installation
Set new self-supporting rock face Indiana limestone arch onto new brick column and temporary wood lintel support. Tuckpointed all stone joints and filled in brick to match coursing of existing brick above new stone with type N mortar mix. Removed steel 4 inches x 4-inch x ½-inch angle, shores, and replaced damaged bricks from anchor bolts. Removed temporary wood lintel and shores.
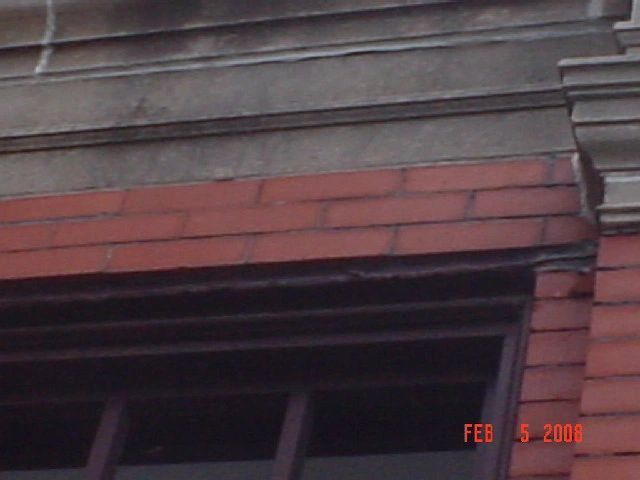
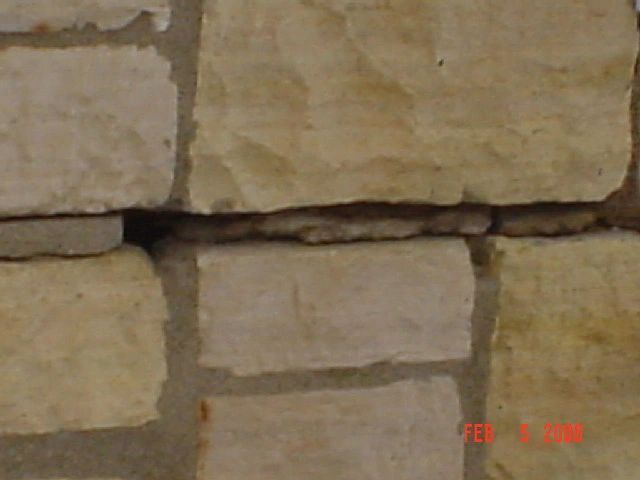
Removal of Existing Mortar in Joints
Removal of mortar was slower than normal because of the very narrow joint size. The joints ranged in width from 1/32 inch to 1/8 inch. We used hand scraping tools, and small Dremel tools with very thin 545 Dremel diamond blades for removal of the very thin joints. Existing mortar was a ½-inch depth bead of mortar around the entire edge of the brick. We tried to stay around ¼-inch deep for removal. Some areas the entire ½-inch depth of existing mortar was removed or non-existent because of deterioration. The wider joints we were able to use a small 4-inch electric grinder with 4-inch x 1/16-inch abrasive blades. The face of the brick was very soft and porous. The abrasive blades worked well for areas with soft mortar.
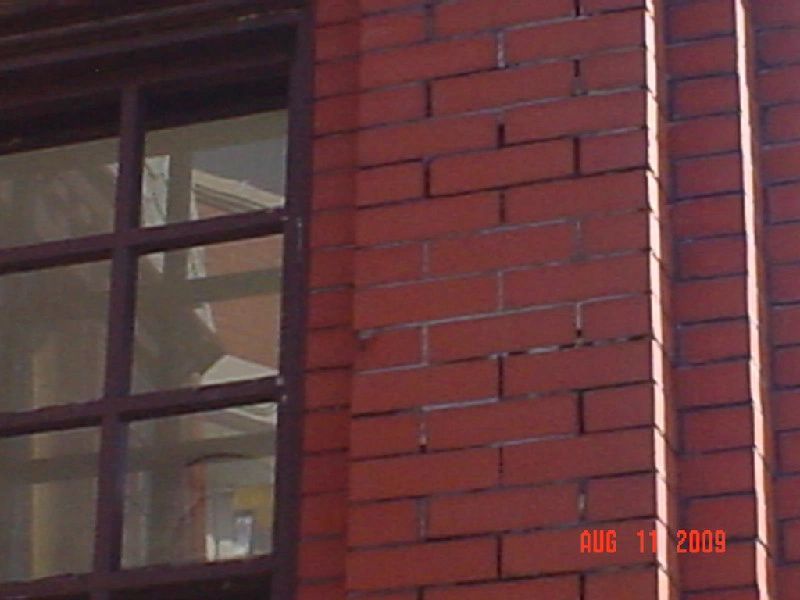
Brick Removal
We removed random cracked and mismatched bricks with hammer chisels and hammer drills with masonry bits.
Tuckpointing
Cleaned all joints to prepare for tuckpointing with water and compressed air.
The smallest trowels made for tuckpointing are ¼ inch so we ground down ¼-inch Marshalltown pointing trowels to 1/8 inch for installation of the mortar. Tuckpointing was much slower than normal because of the very small joints, and we had to be very careful not to smear excess mortar onto the brick. We filled joints ¼ inch to ½ inch deep.
Testing of existing mortar was determined to be type N, which we used for this project. We had to use very fine, black-colored silica sand for this project because of the very fine joints. With type N mix you have to use black sand or the finish color will be gray. The mix was proportioned as follows.
ASTM C270, Type N for Brick Masonry
- Type N Mix: 1 Part Portland Cement, 1 Part Hydrated Lime, and 6 Parts Sand
- Sand: Estes’ PermaColor Quartz Granules Retained BC Fine Black 30-140
- Portland: Holcim Type 1 Cement meets all Type ll ASTM-C150 specifications by virtue of the C3A not to exceed 8%
- Lime: Western Miracle Type S Pressure Hydrated Non-Air-Entrained, complies with A.S.T.M. C-207 Type “S”
- Mortar Color: SGS Black Mortar Color ASTM C-979
Brick Washing
Sure Klean Vana Trol manufactured by Prosoco mixed 10 parts water to 1 part Vana Trol:
- Beginning total bricks on site: 645 – 2 5/16 inches + 1145 – 2 3/8 inches = 1,920
- Total bricks used on window column: 120 – 2 5/16 inches + 120 – 2 3/8 inches = (240)
- Total bricks used above window stone: 50 – 2 5/16 inches = (50)
- Total bricks used random and mismatched: 60 – 2 5/16 inches + 8 – 2 3/8 inches = (120)
- Total bricks remaining on site, approximately: 415 – 2 5/16 inches + 945 – 2 3/8 inches = 1,380
Share On: